Xtreme Power US Mini Gas Powered Bike
How To Install a Gas Bike Engine
Gas Powered Bikes

Ride With Power

FrostyRider 49cc Gas Powered Dirt Bike
Gas Powered Dirt Bikes
Gas Dirt Bikes

Ride The Rough

How To Break In An 80cc Motorized Bicycle Engine
Bikes Accessories

Upgrade Your Journey

Throttle & Clutch Installation
Guide

Ultimate Bike Guideline

blog

How To Install a Gas Bike Engine In 2 Hours

How To Install a Gas Bike Engine In 2 Hours

How To Install a Gas Bike Engine

How do you put an engine on a bike( A step-by-step Guide for Beginners)

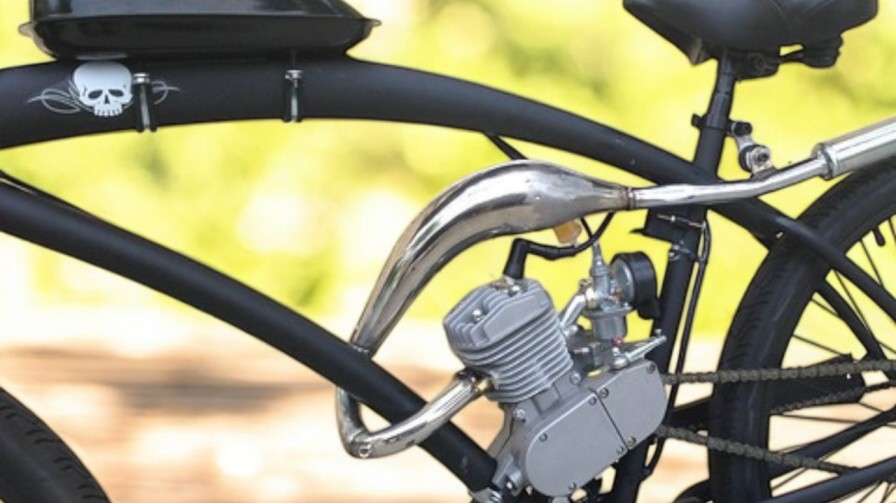
Installing a gas bike engine is an awesome upgrade to any regular bicycle. Whether you’re interested in more speed, better commuting or just having some fun with a do-it-yourself project, turning your regular bicycle into a motorized bike is simple.

This guide walks you through each step while explaining what you need and why, before supplying the bullet points.

What to Have Before You Begin

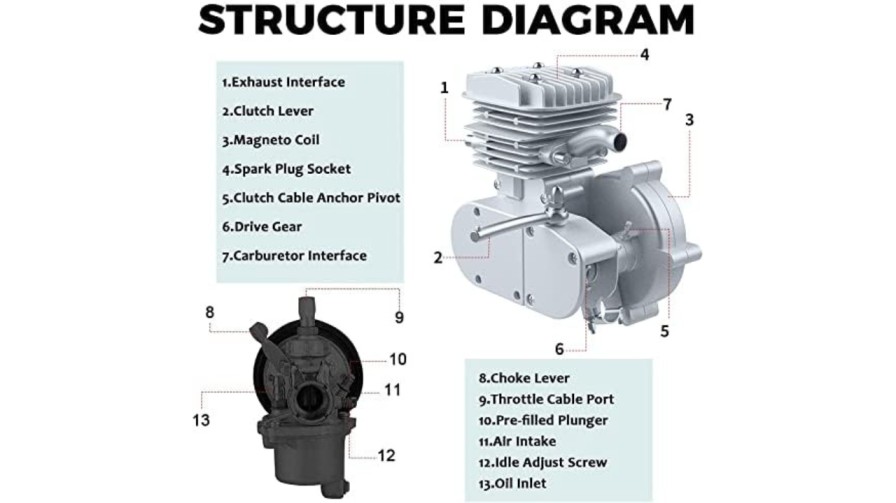
To ensure you start on the right foot, have the required tools in place and get to know the components that will be in your engine kit. This will prevent you from delays and results in a hassle free installation.

Tools Required

These common tools will make the install of your engine nice and easy:

  • Socket wrench set
  • Screwdrivers
  • Pliers
  • Drill (optional for tensioner)
  • Spark plug wrench
  • Chain breaker tool
  • Zip ties

Parts That Usually Come With 80cc Engine Kits

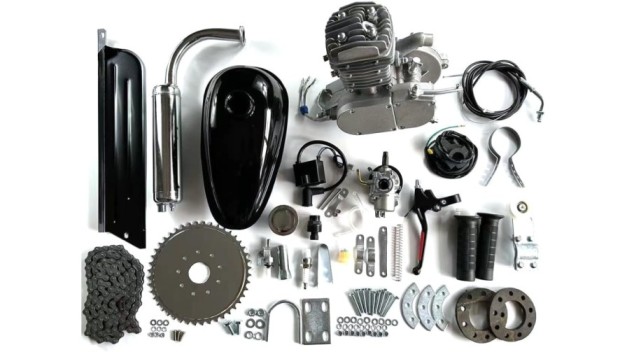
Typically your 80cc engine kit will include all the items you need in order to complete the installation.

Parts That Usually Come With 80cc Engine Kits
  • Engine
  • Carburetor
  • CDI ignition coil
  • Fuel tank
  • Throttle and clutch assembly
  • Fuel valve and fuel line
  • Muffler
  • Drive chain
  • Chain tensioner
  • Mounting hardware

Step 1: Get the Bicycle Ready

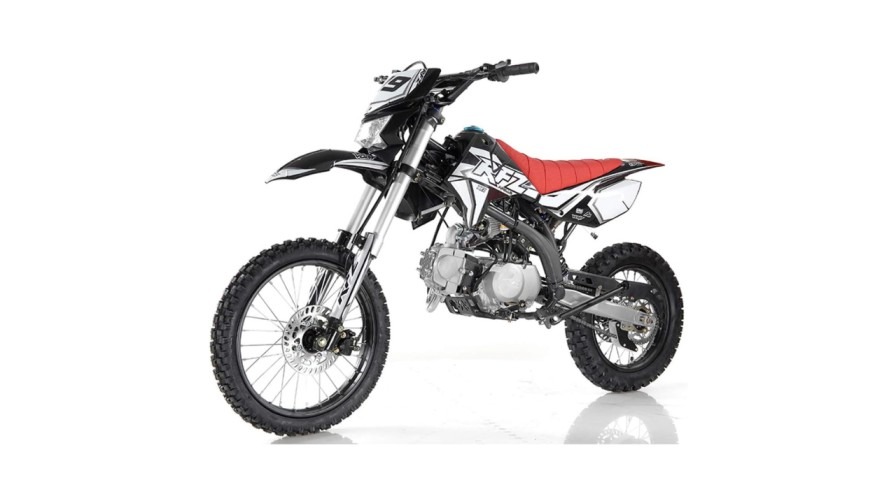
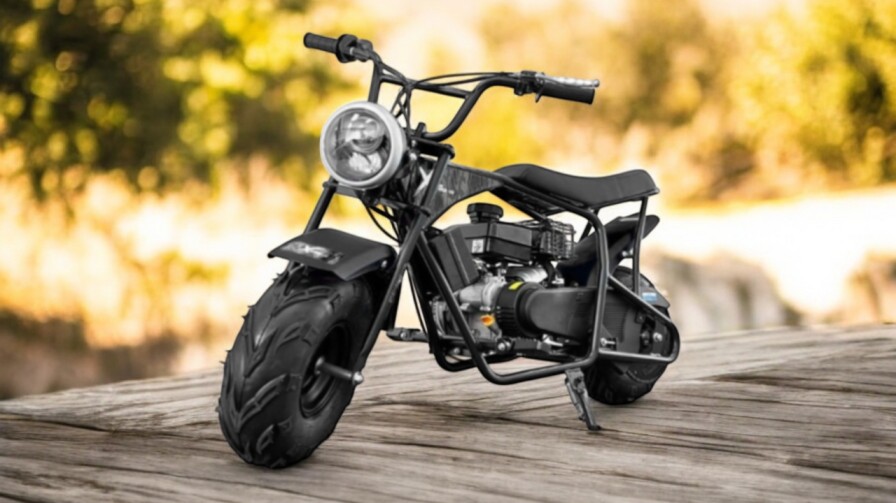
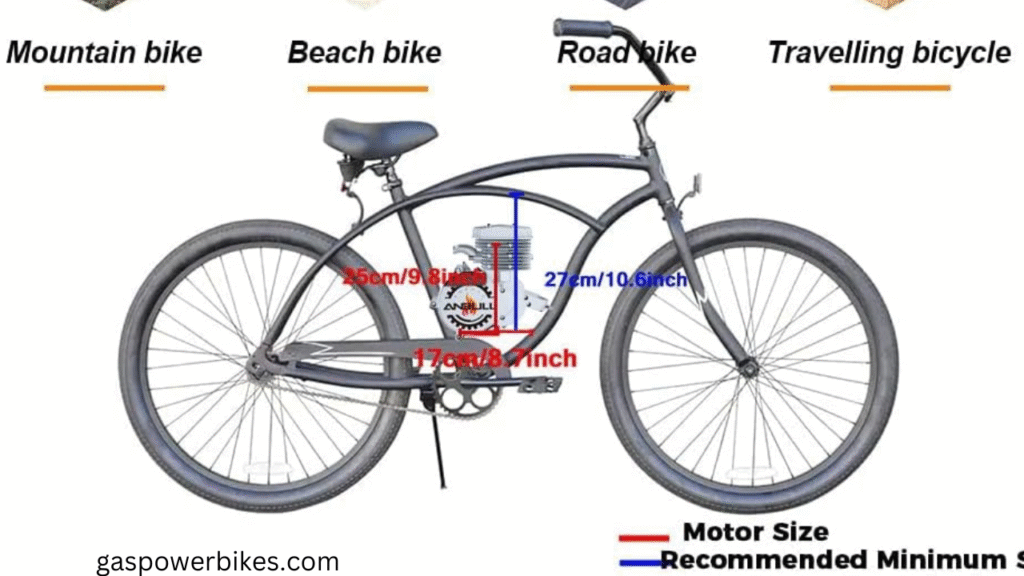
You will need to choose one of the following bikes prior to moving on with engine installation. For proper engine support, a stout frame is required along with adequate space inside that “V.”

Choose the Right Bike

Bikes with these types of features are best:

  • 26-inch mountain bike
  • Steel frame
  • Strong wheels
  • Disc or V-brakes

Check Frame Clearance

Make sure:

It’s a good fit for the V-frame

You can install the brackets without having to bend the frame

Step 2: Mount the Engine

Then the engine must be installed. Application: Proper alignment can keep your chain running smoothly and your engine in a good condition.

How to install the engine of gas powered bikes

How to Install the Engine

  • Center the engine between the two V halves
  • OK, line it up let the chain straight
  • Fit and screw the mounting brackets and pan head screws.
  • Add Some Rubber to Limit Vibration

Step 3: Rear SprocketInstall the rear sprocket

You will need to fit the sprocket on the wheel to take power from the engine. No-kink sprocket avoids chain problems.

Rear Sprocket Steps

  • Remove the rear wheel
  • Place the rubber spacer between the spokes
  • You attach the sprocket on the left-hand side
  • Star pattern for torque seats of the bolt
  • Ensure the sprocket rotates smoothly.

Step 4: Install the Chain

Chain, which links the wheel to the engine. The appropriate tightness to avoid the tire derailment or noise.

Chain Installation

Place a towel in engine and wheel sprocket.JScrollPane: item 4 of all slides Wrap chain around engine and wheel.

  • Size down with the chain breaker
  • Connect with master link
  • Install the chain tensioner
  • Allow the can to be rotated freely by leaving ½ inch of play.

Step 5.Throttle & Clutch Installation

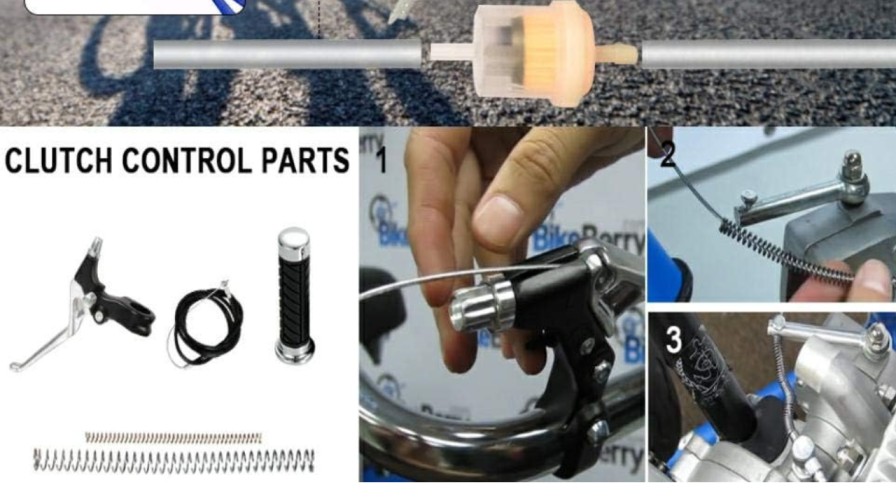
Its speed is controlled by your throttle, its connection to the engine by your clutch. For safe riding both should be installed into place.

Throttle & Clutch Installation

Throttle

  • Remove right grip
  • Slide throttle handle
  • Run cable to carburetor
  • Adjust tension

Clutch

  • And put the clutch lever on the left
  • Connect cable to clutch arm
  • Adjust for smooth pulling

Step 6: Mount the Carburetor

The fuel and air are mixed in the carburetor. It will need to be secured properly and found in the right position.

  • Carburetor Steps
  • Slide carburetor onto intake
  • Tighten clamp
  • Connect throttle cable
  • Ensure carburetor sits straight

Step 7: Fuel Tank Installation

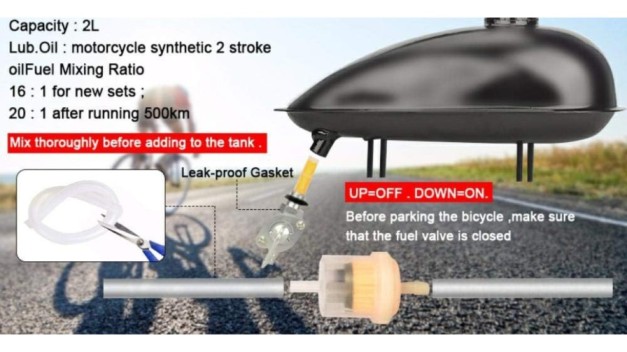
The tank is screwed into place to the top of the bike. Make sure to attach it snugly, with no leaks or jiggles during your ride.

  • Fuel Tank installation
  • Place tank on top tube
  • Secure with metal brackets
  • Install fuel valve
  • Connect fuel line to carburetor

Run the correct 2 stroke fuel mix (20:1 for break in, then 40:1)

Step 8: Mount CDI ignition.

The engine is fired by the CDI-coil. A wrong wire and the engine won’t turn on.

CDI Steps

  • Install the CDI up by the top tube
  • Connect black-to-black, blue-to-blue wires
  • Plug into spark plug

Step 9: Exhaust Install the exhaust system

We looped some R&D Umitiated rubber tubing and bolted it together.

The muffler works to decrease exhaust and engine noise.

  • Exhaust Installation
  • Align exhaust with engine
  • Insert gasket
  • Tighten bolts
  • Check for leaks

Step 10. Final Check Before Starting

Before the first ride, please check all aspects of the bike are fitted correctly and easily can be adjusted.

  • Checklist
  • Chain tension correct
  • Sprocket straight
  • Fuel flowing
  • Wires connected
  • Brakes working
  • No loose bolts

How to Start the Engine

A gas bike engine is very easy to start if you follow a few simple steps.

How to start the gas engine bike
  • Starting Steps
  • Turn fuel valve ON
  • Close choke
  • Pull clutch
  • Pedal to 8–10 km/h
  • Release clutch
  • Give throttle

Break-In Process

Soft-breaking the engine in, helps increase its life and performance.

  • For First 3 Tanks
  • No full-throttle riding
  • Vary your speed
  • Keep rides short

Troubleshooting

Engine Won’t Start

  • Check wiring
  • Check spark plug
  • Ensure fuel is flowing
  • Clean carburetor

Chain Falls Off

Tensioner alignment

  • Sprocket wobble
  • Engine Stalls
  • Lean fuel mixture
  • Air leak
  • Clogged fuel line

News

Related Articles

Comments

Post a Comments

Leave a Reply

Your email address will not be published. Required fields are marked *